This article explains how to de-provision an unused Azure Subscription.
1. Log in to the Nebula UI and click on Organizations:

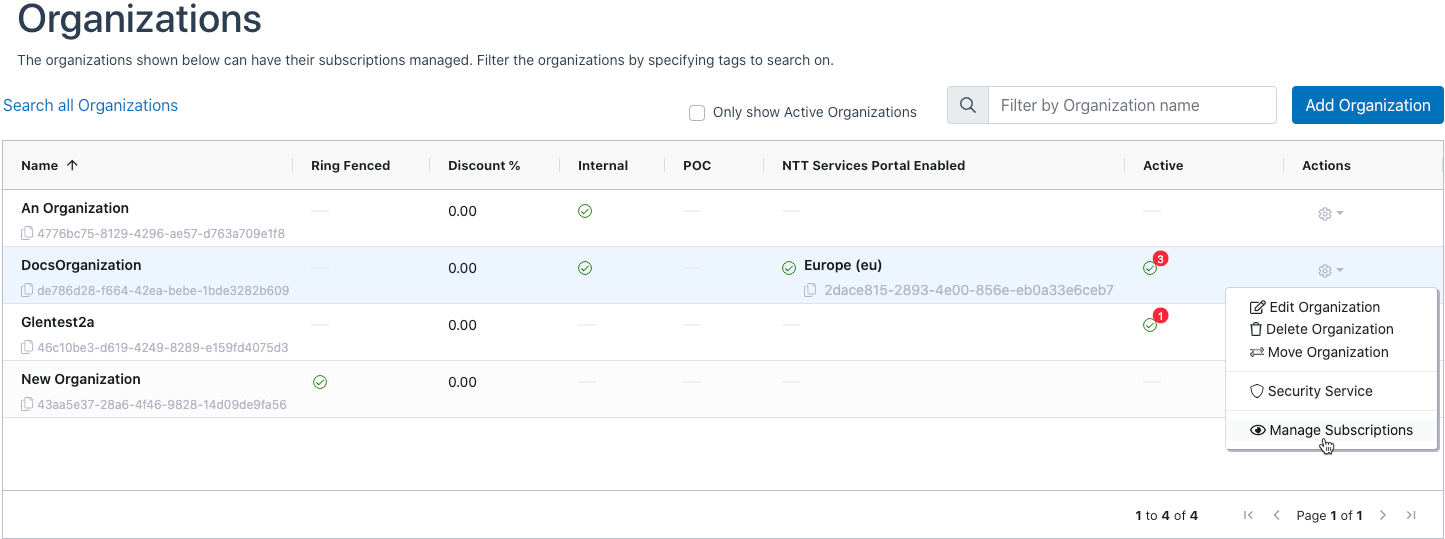
2. The Organizations page will be displayed. Locate the Organization where you want to de-provision a Subscription. Click on the cog in the Actions column, and select “Manage Subscriptions”:
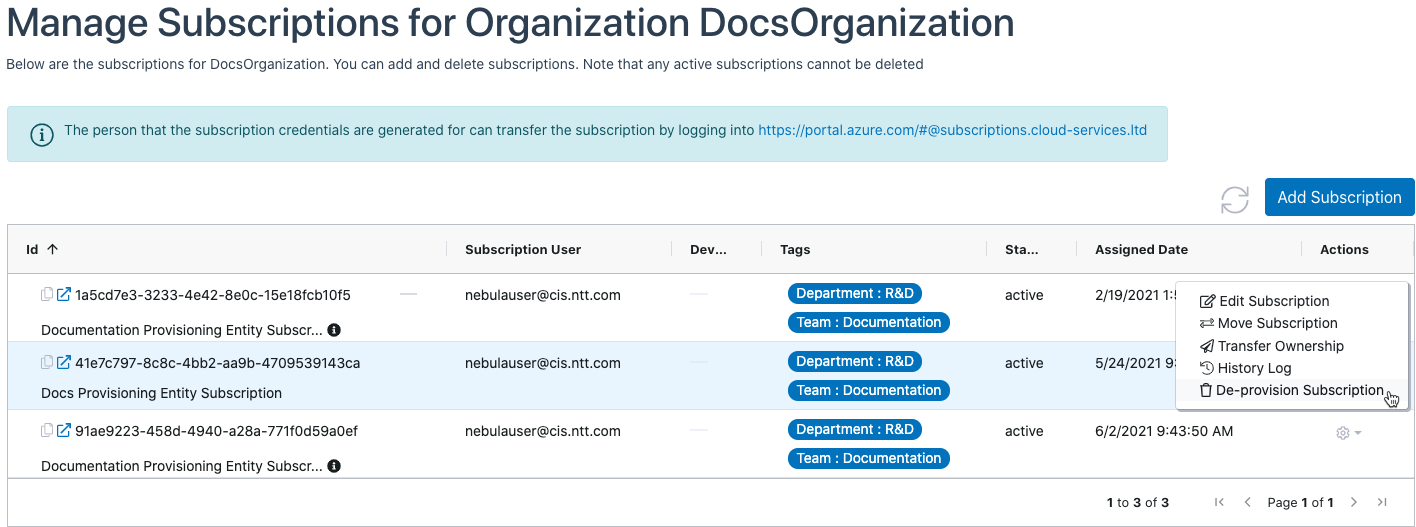
3. The Manage Subscriptions dialog will be displayed. Locate the Subscription you would like to de-provision and click on the cog in the actions menu, then click De-provision Subscription:
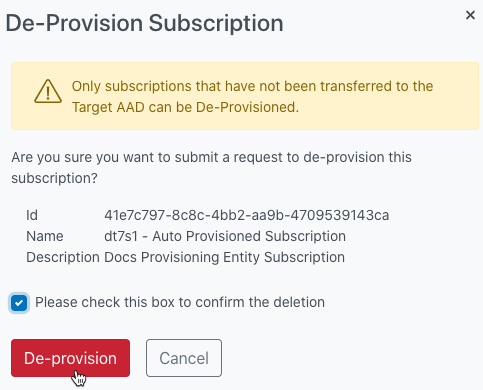
4. The De-provision Subscription dialog will be displayed. Verify that you have selected the correct Subscription, then tick the confirmation box and click the “De-provision” button:
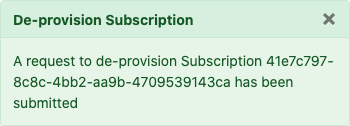
5. The UI will display a message indicating that the request has been submitted:
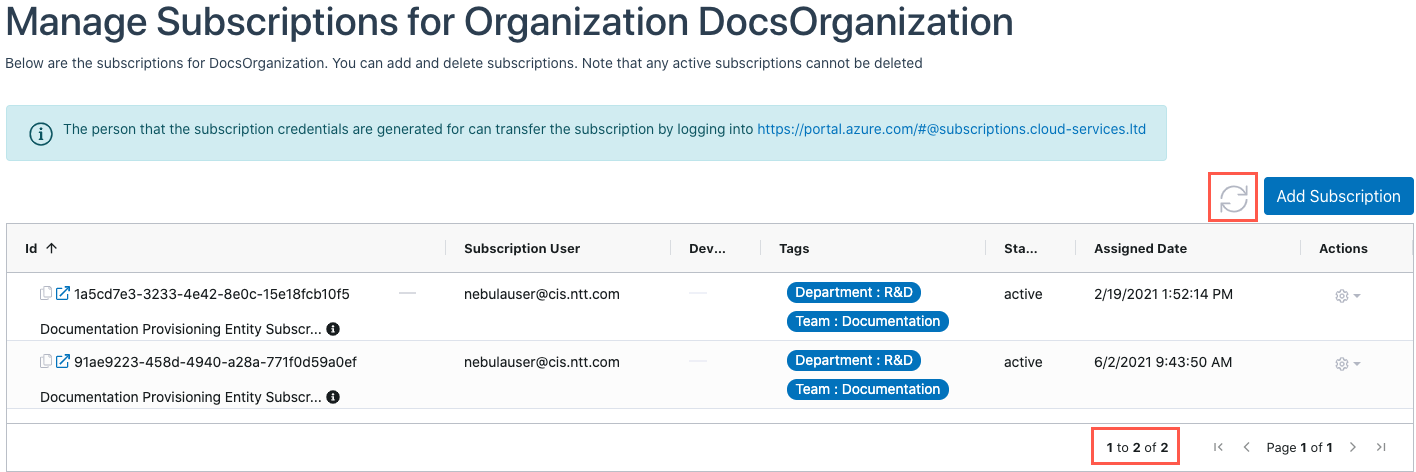
6. After a few minutes, you can reload the page and the Subscription will have been De-provisioned: