
This article explains how to manage the Threat Detection configuration specific to your organization. Through the NTT Services Portal, users can view the list of enabled Subscriptions and edit the set of email addresses that will receive incident reports generated by Security Services Threat Detection services.
NOTE: In order for this feature to be operate, an Azure Resource Management (ARM) template must be deployed within your Azure Subscription. Contact your Cloud Core Services support team for more information.
1. Log in to the Cloud Core Services application
Refer to How do I Access Cloud Core Services?
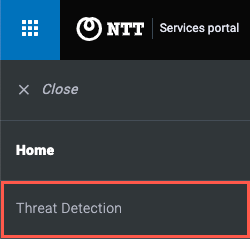
2. Access the Threat Detection screen by either clicking the Threat Detection dashboard tile (or the left menu item)
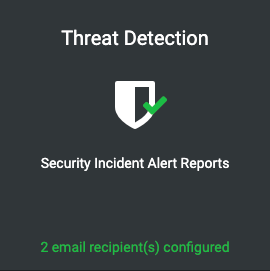
Dashboard
The dashboard tile will indicate whether or not *email addresses have been configured to received incident reports:
Left Menu
3. Threat Detection Screen
The Threat Detection screen has two columns:
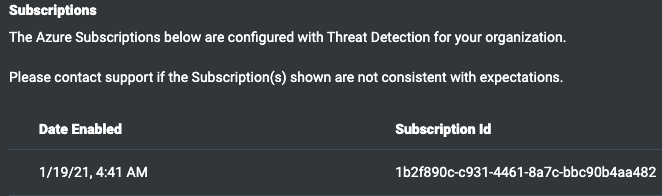
- Subscriptions: these are the Azure subscriptions that have been enabled for the service. The date that each was enabled for the service is displayed, along with the Subscription ID:
- Email Configuration: the set of email addresses that will receive incident report emails when they are sent by the Threat Detection system. *At least one email address is required to be saved as a recipient if there is one or more Subscriptions enabled for the service.
3. Update the recipient email addresses
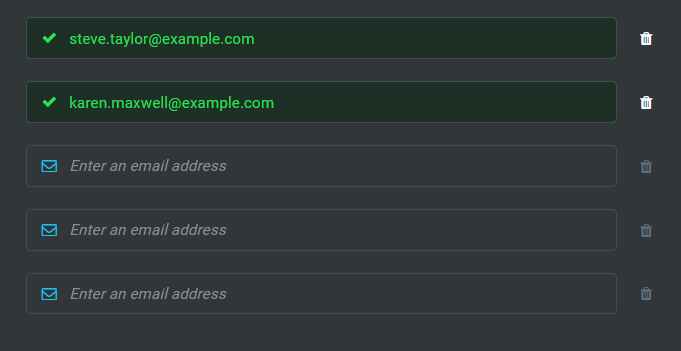
Up to five valid email addresses can be set as incident report recipients. The system will have the form enabled by default when there are no email addresses set, otherwise, click the “Edit” button to enable the form:
With the email addresses updated, click Save Email Configuration (you may need to scroll the panel to access the buttons) or Cancel to leave the current values unchanged:

The system will prompt for confirmation, click Yes to confirm that you want to save the updated set of recipients or No to return to the form:
A toast will be displayed to confirm that the set of email addresses has been saved:
