
This article explains how to provision a Subscription for an Organization.
1. Log in to the Nebula UI and click on Organizations:

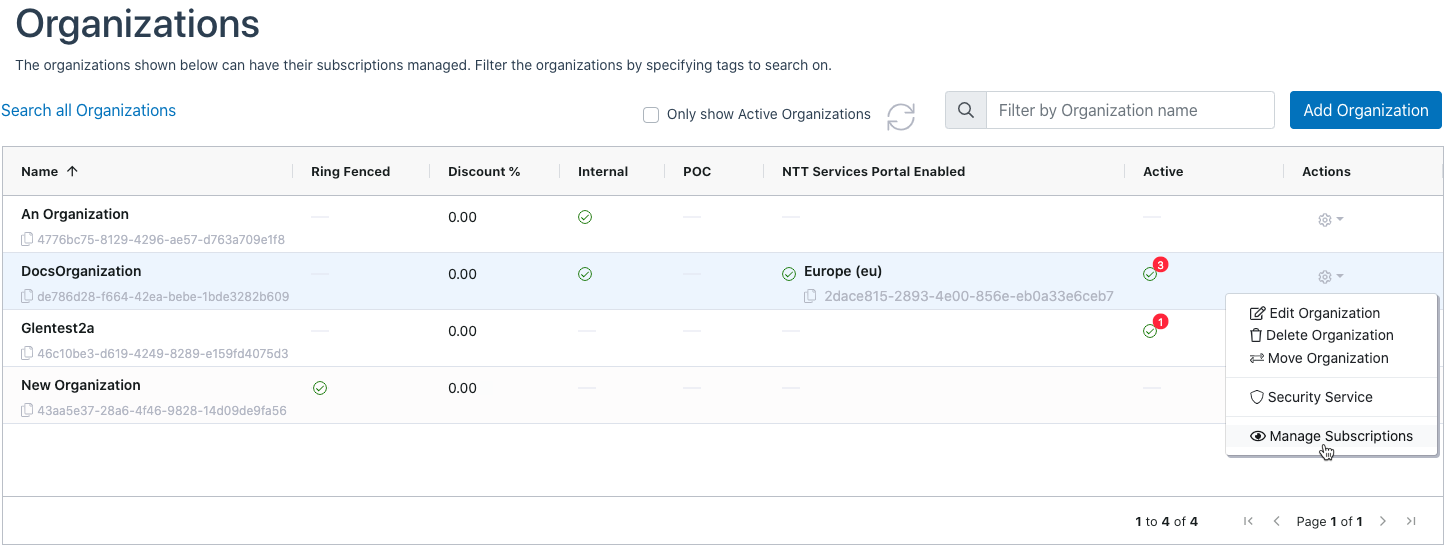
2. The Organizations page will be displayed. Locate the Organization where you want to add a Subscription. Click on the cog in the Actions column, and select “Manage Subscriptions”:
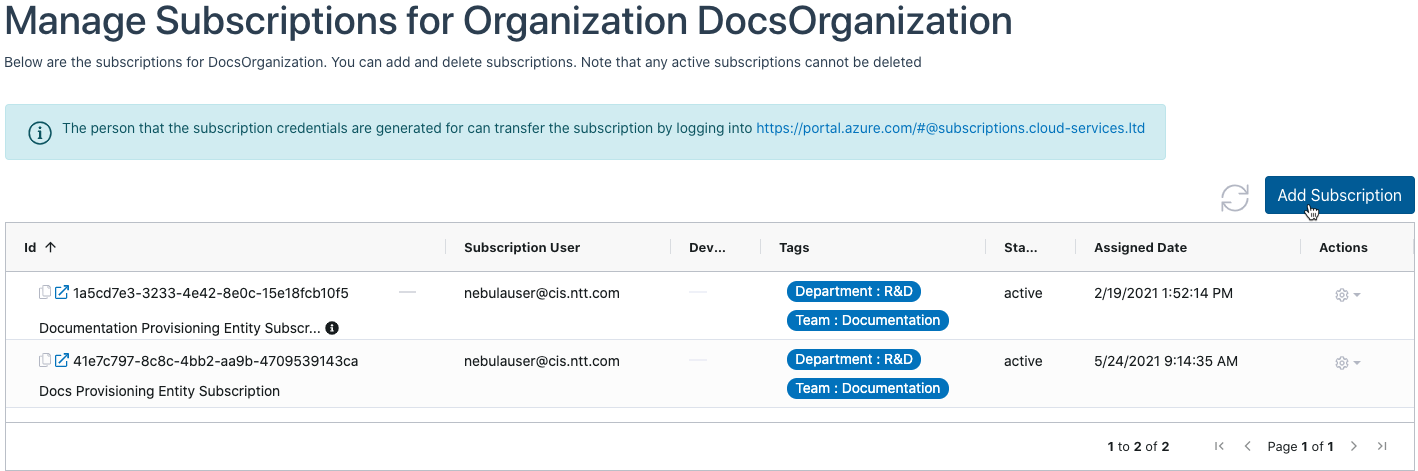
3. The Manage Subscriptions dialog will be displayed. Click “Add Subscription”:
4. The Add Subscription dialog will be displayed:
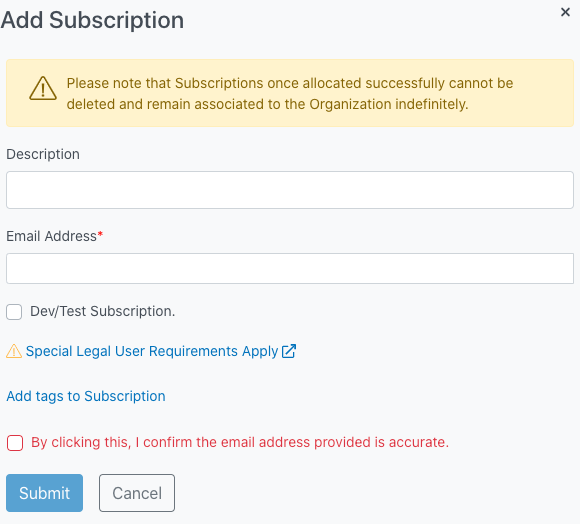
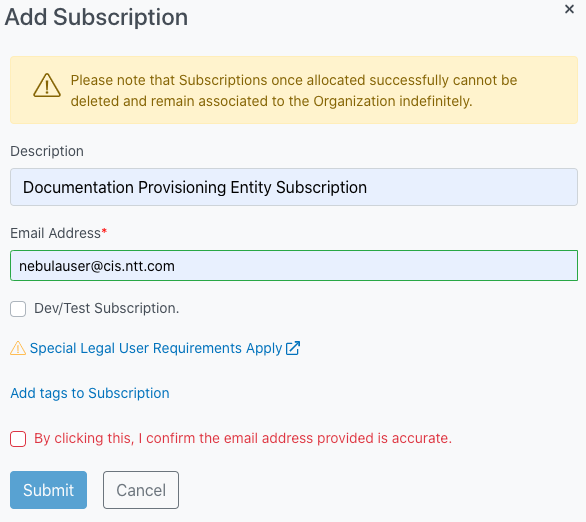
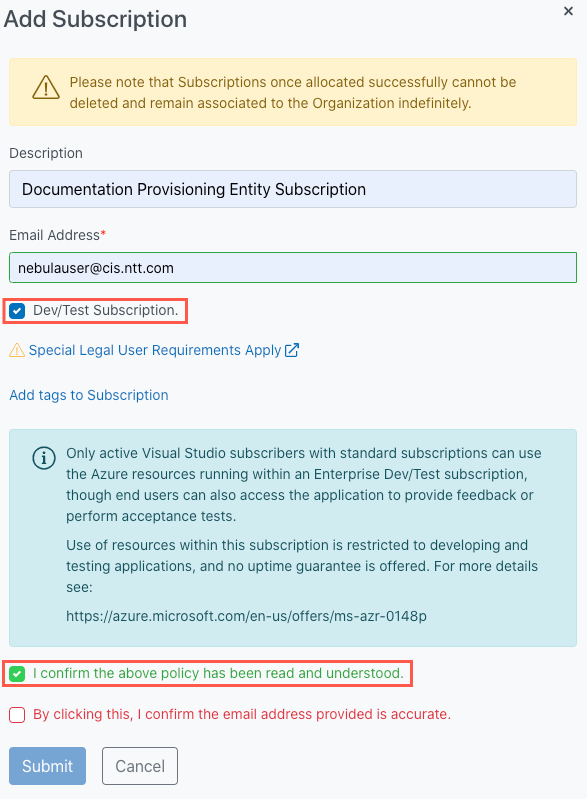
5. Enter an optional description in the Description field and the email address associated with whoever will be the owner of the subscription:
6. Tick the Dev/Test Subscription box if the Subscription meets the Dev/Test requirements. You can click on the ‘Special Legal User Requirements Apply’ link to review the requirements. If you tick the Dev/Test Subscription box, the dialog will expand with a warning and an additional tick box indicating that you have read and understood the Dev/Test Subscription policy:
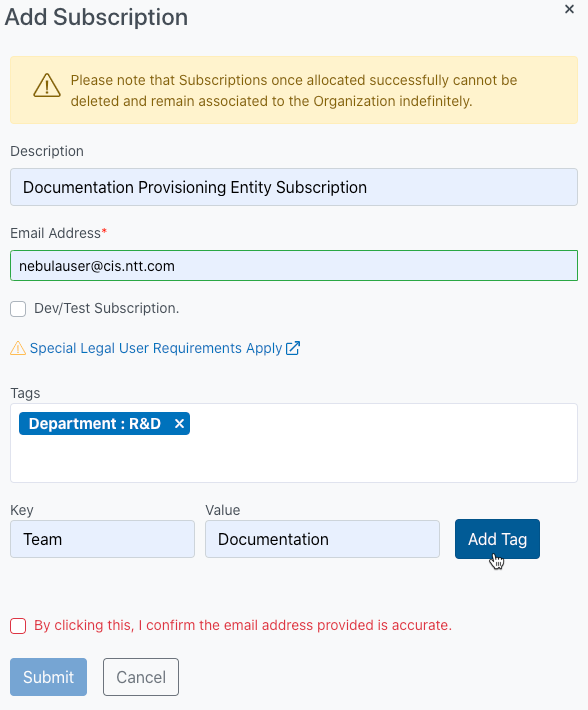
7. You can optionally click on the “Add Tags to Subscription” button, which will further expand the dialog. You can create Tags by entering a Key/Value pair, and then clicking Add Tag:
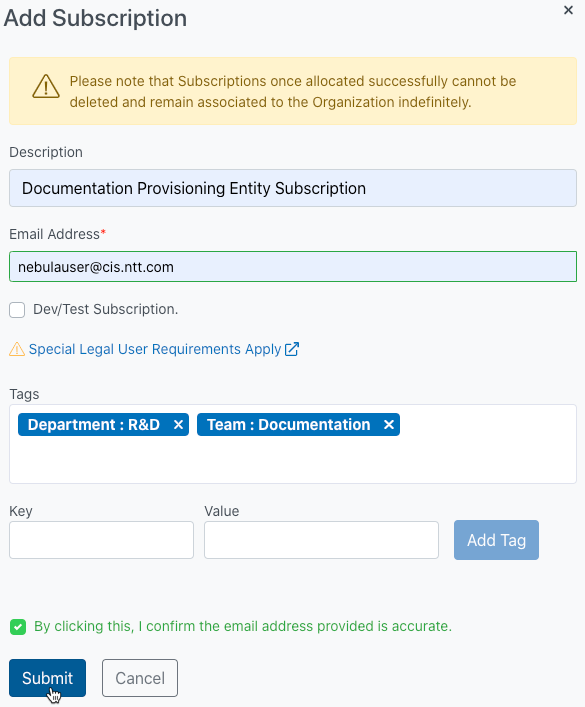
8. Once you have added the desired Tags, verify that the email address is correct, and click the box indicating that the email address is accurate. Then, click Submit:
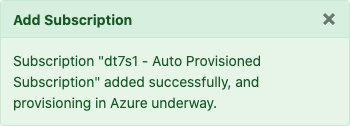
9. The UI will display a message indicating that the operation was successful:
10. The page will be updated to show the subscription and the status column will indicate that it is being provisioned:
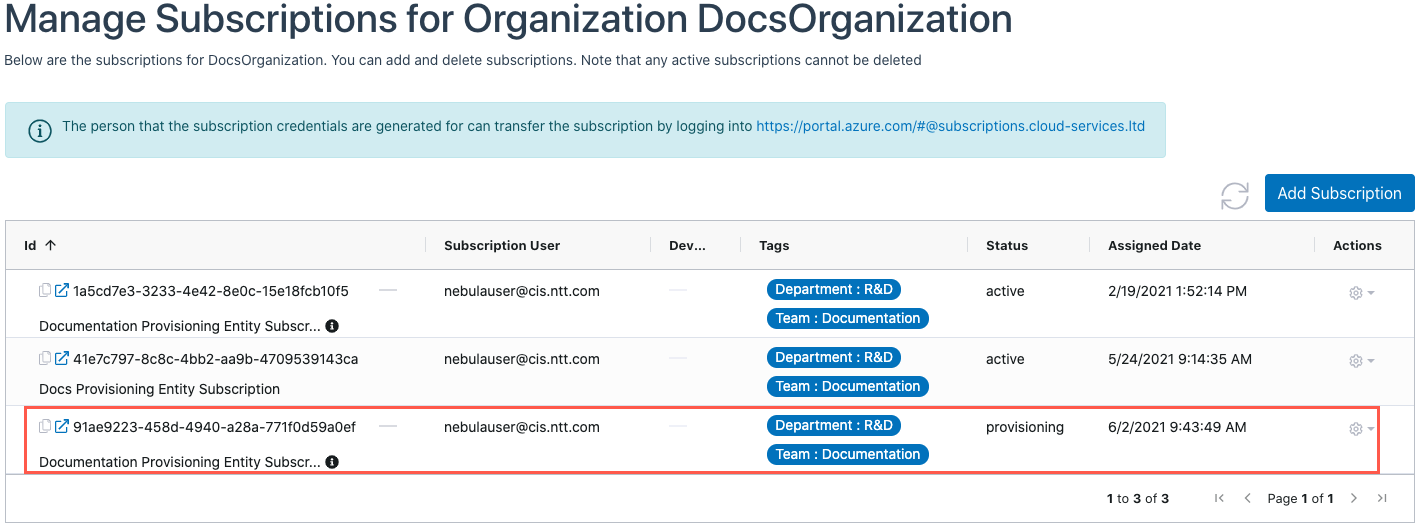
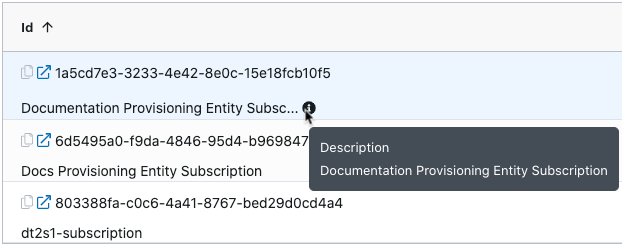
If the Description is greater than 40 characters long, the “Information” icon will be displayed. Hovering your mouse over the icon will display the entire description:
11. Once the Subscription has been provisioned, the system will send an automated email to the email address that was entered as the Subscription owner.

This email will provide instructions for the owner to transfer the subscription as described in this article:
How do I Transfer an Azure Subscription to the Target Azure Active Directory?