
What settings are required?
The Cloud Core Services application requires a Tenant (Directory) Id, Client (Application) Id and Client Secret to access resources within Azure specific to Subscriptions designated by the user on the Azure side.
These three values need to be set up in the Azure Portal as summarized below.
App Registration: Creating a Service Principal
1. In the Azure Portal, navigate to the Azure Active Directory blade, Make note of the Azure Active Directory Tenant ID.
2. Navigate to App registrations:

3. Click on New Registration:

4. Enter the details for the Service Principal and click Register when ready
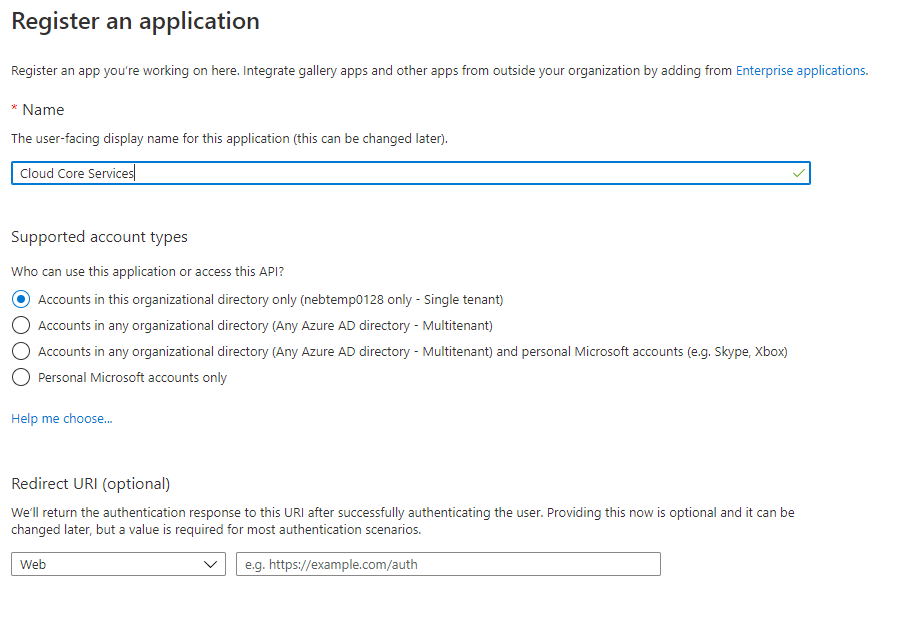
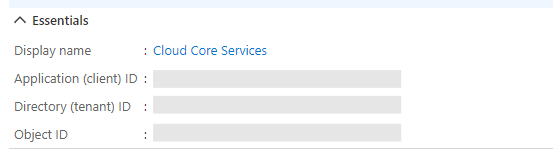
This step produces the Client ID required for the Cloud Core Services application, and the blade for the App Registration also displays the Tenant ID for convenience.
Configure a Client Secret for the Service Principal
This step creates the Client Secret required for the Cloud Core Services application, which is the third and final piece of data required for input following the Client ID and Tenant ID noted in the previous step.
Go to the App Registrations blade, then click on Certificates and Secrets. Select New client secret. Provide a description, select the period of expiry most appropriate for your organization’s security policies and click the Add button.
Note the value of the Secret generated.
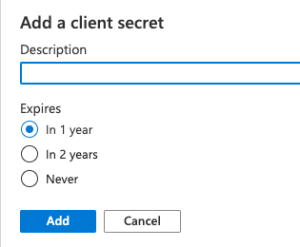
You should copy the client secret directly from the dialog once it has been created:

Add the Service Principal to the Subscriptions
The last step on the Azure side is to add the Service Principle to each Subscription that you want to be visible in Cloud Core Services:
1. In the Azure Portal, navigate to the Subscriptions blade.
2. In turn, select a Subscription to be monitored.
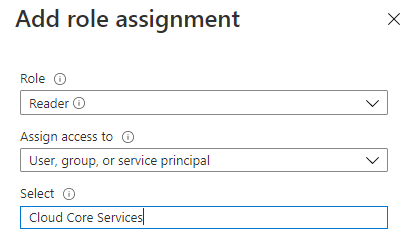
3. For each one, under the Access control (IAM) blade, click Add:

4. Give the previously created Service Principal Reader access to the Subscription:
Where are the settings configured in Cloud Core Services?
On opening Cloud Core Services, select Azure Resources from the left menu or by clicking on the tile shown below, and then Configuration.
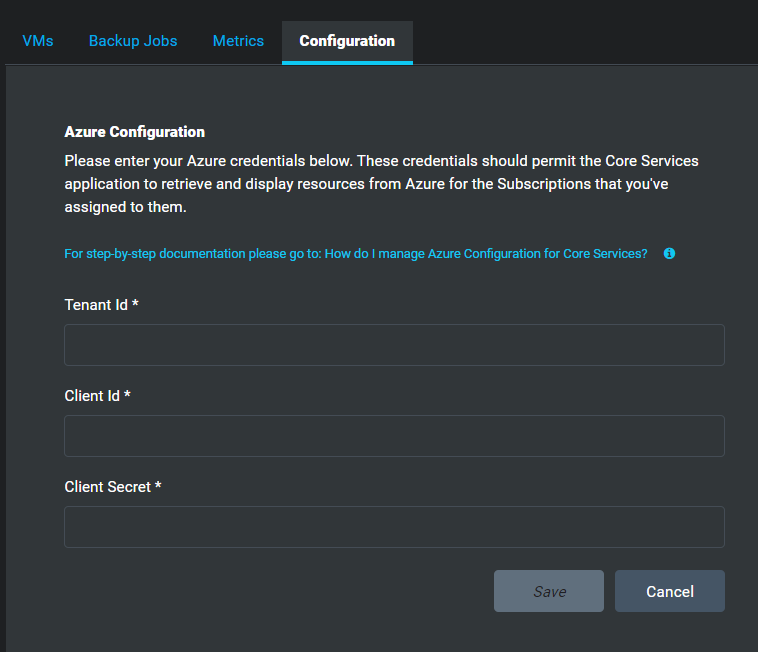
If integration settings are not already in place the Configuration tab will be selected automatically.
Configuration
The VMs tab will be disabled until credentials have been added.
Enter the three properties recorded in the steps above (Tenant ID, Client ID and Client Secret) in to the corresponding fields and click Save:
As part of the Save operation, Cloud Core Services will test against Azure to ensure that the credentials provided are valid for retrieving resources from the Azure API. If successful, the VMs tab will be enabled ready for use and the following message will be shown:

If the test is unsuccessful the following message will be shown:

The most common error is an incomplete copy/paste of one of the values resulting in an omitted character.
Note that it is possible to return to this screen and change these credentials at any time, should the need arise.
To view your Azure VMs, please refer to How do I View Azure Virtual Machines in Cloud Core Services?