This article explains how to move an Organization to a different Provisioning Entity. In order to move an Organization, the Target Provisioning Entity must support the characteristics of the Organization that is to be moved. For example, they must both use the same currency.
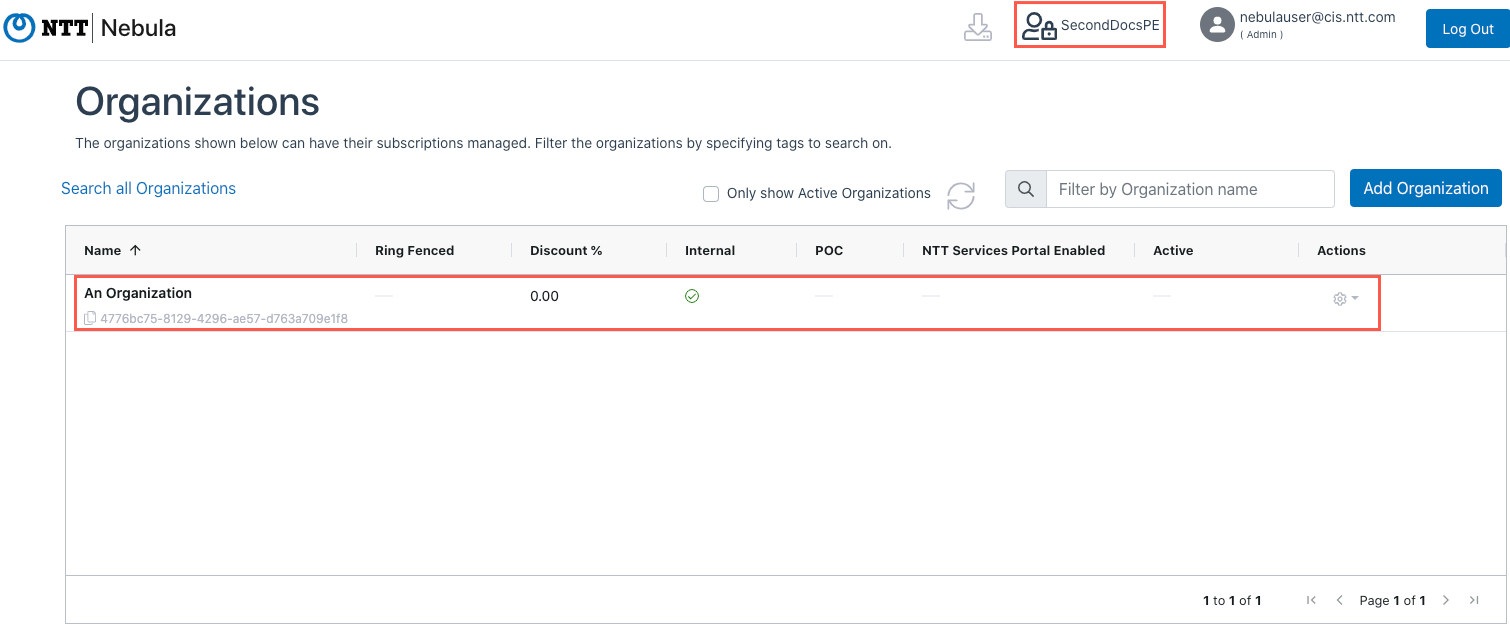
1. Log in to the Nebula UI. Click on the Provisioning Entity icon in the upper right-hand side of the screen and select the Provisioning Entity Where the Organization you would like to move exists. Click on the Organizations tile:

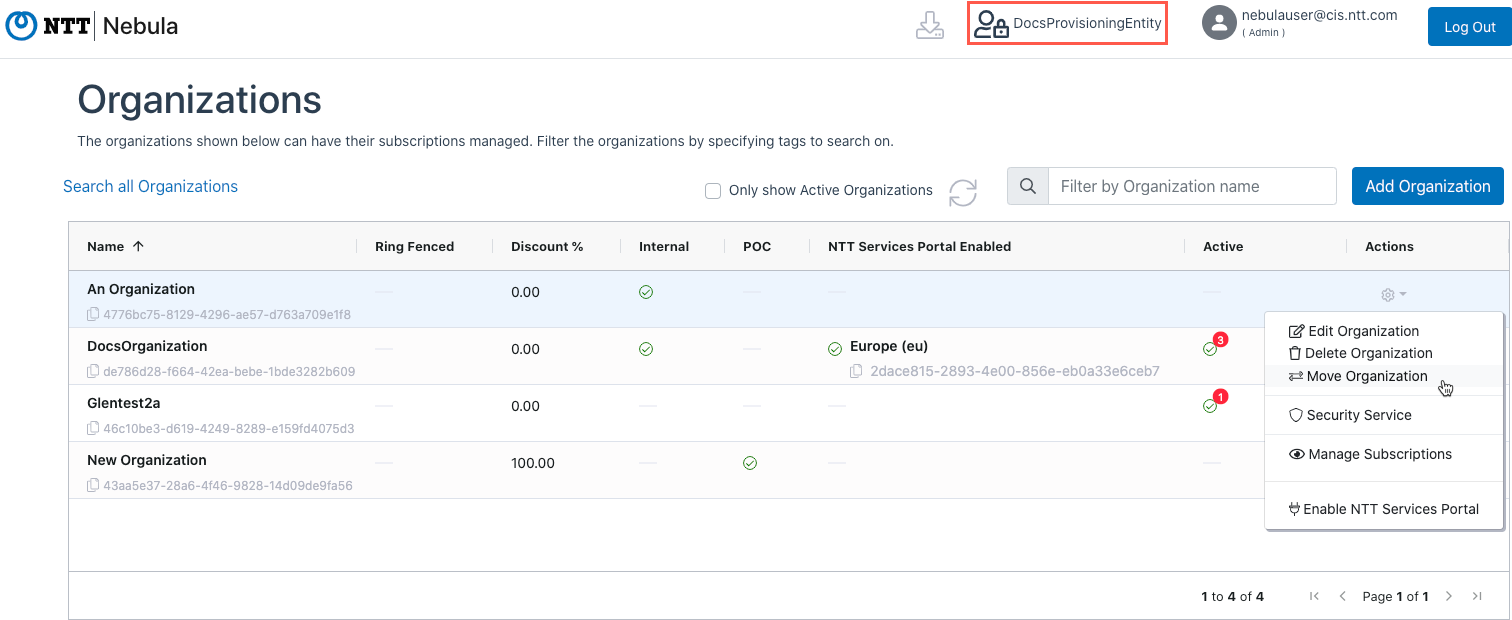
2. The Organizations page will be displayed. Locate the Organization you want to move, and click on the cog in the Actions column, and select “Move Organization”:
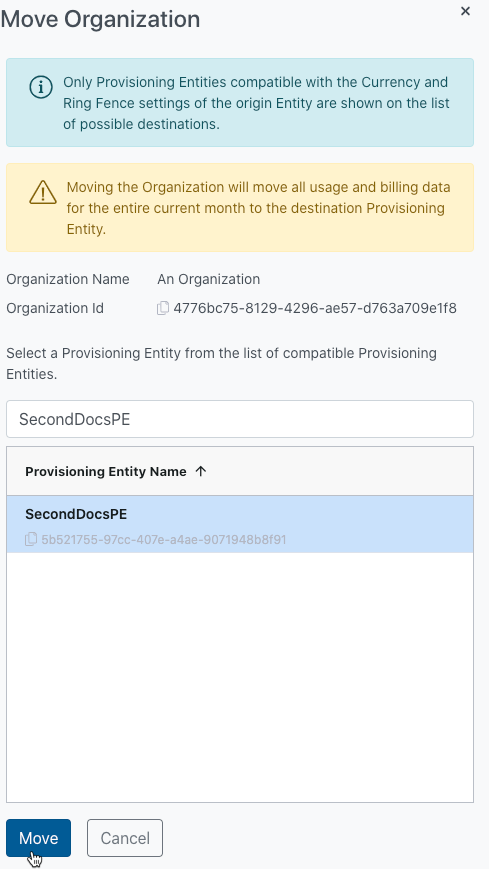
3. The Move Organization dialog will be displayed. Only compatible Provisioning Entities will be shown the dialog. You can search for the Target Provisioning Entity by Name or ID, or you can scroll through the list of available Provisioning Entities. Select the desired Provisioning Entity, and click Move:
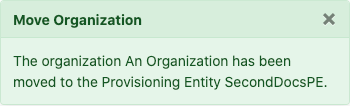
4. The UI will display a success message indicating that the operation was successful:
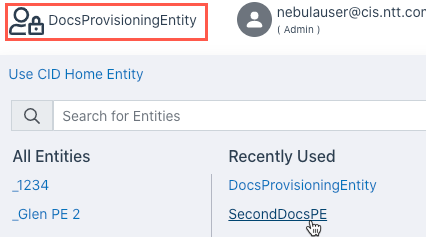
5. Navigate to the Provisioning Entity where the Organization was moved by clicking on the Provisioning Entity icon at the top of the screen and selecting the Provisioning Entity from the list:
6. The Home screen for that Provisioning Entity will be displayed. Click on the Organizations tab to see the newly-moved Organization: